How to use Pocketforge
April 5, 2024 ◇ 6 min read


Table of content:
- Installation
- New campaign
- App Layout
- Character creation and Hero tab
- Tracks
- Delves, Derelicts and Vaults
- Locations
- Factions
- Custom assets, themes and domains
- Export and Import
- Generate HTML
- Links
Pocketforge is an unofficial companion app for Ironsworn, Ironsworn: Starforged and Ironsworn: Sundered Isles. All data is saved locally in your browser and there's an option to install it on both PC and mobile devices to use it offline.
New Installation
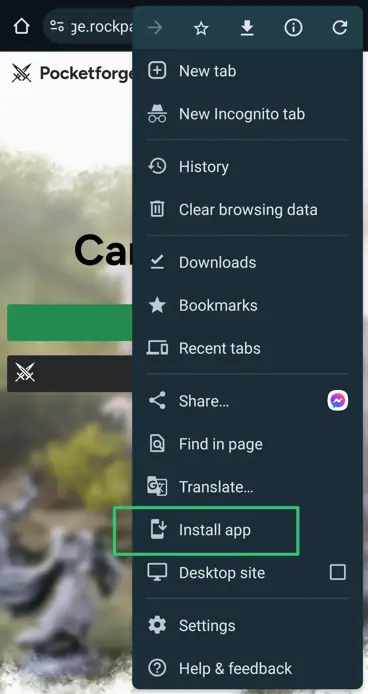
To install Pocketforge locally and use it offline, make sure you are connected to the internet and click Install at the top right of the address bar.

On mobile, it's usually in the expandable browser menu under the label "Install app".
After installing it, it's best to browse it for a bit to make sure everything has been successfully downloaded for offline use.
New campaign
In Pocketforge you can play Ironsworn, Starforged and Sundered Isles or mix it up as you see fit. When creating a new campaign, select your campaign theme and character rules. For a core experience, select the same option for both. By default Sundered Isles uses Starforged rules.
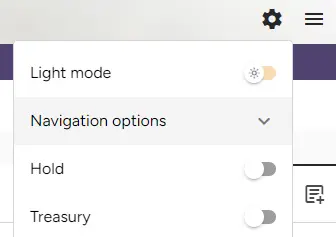
Campaign theme will set the default origin of created characters, locations and sidebar with moves and oracles to the selected theme, using Ironsworn, Starforged or Sundered Isles oracle tables for content generation. Also, picking Sundered Isles option will enable the use of the cursed die. Selected theme will also setup app settings to show Delves in the navigation tab if Ironsworn was selected, Derelicts and Vaults if Starforged was selected and Shipwrecks, Caves and Ruins for Sundered Isles. Once inside the campaign, you can change the settings to show which navigation tab you want active at any time by clicking the settings icon in the upper-right corner and accessing the navigation options.
Character rules will set character tracks and conditions, Bonds for Ironsworn and Bonds, Quests and Discoveries for Starforged and Sundered Isles.

App layout
App header
Aside from the theme/rules icon and campaign name, the header contains app settings and a menu with links on its right side. Campaigns link will redirect you to the starting campaign selection screen.
In app settings, you can activate navigation tabs, campaign options like Hold, Treasury/Ledger or additional oracles, export/import campagins, export/import saved data, and generate an HTML page from your journal logs. Saved data includes all exported content from your campaigns: heroes, NPCs, locations and factions. Remember campaign option at the bottom will save your recently opened campaign and navigation route.
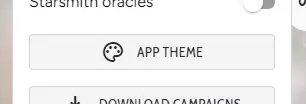
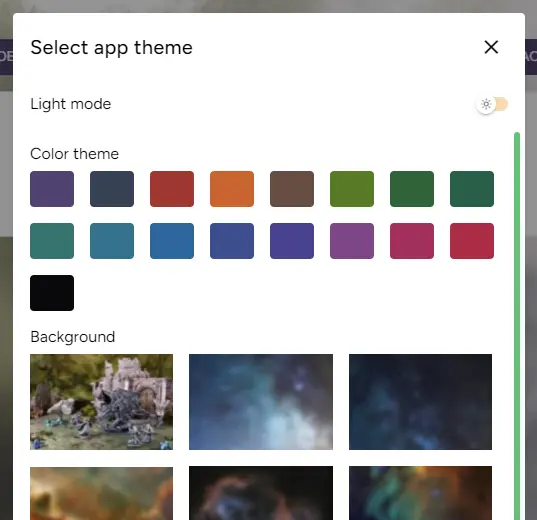
App theme button will open a dialog with options to change light/dark mode, color scheme and app background. Closing it without saving will revert the changes.
Sidebar
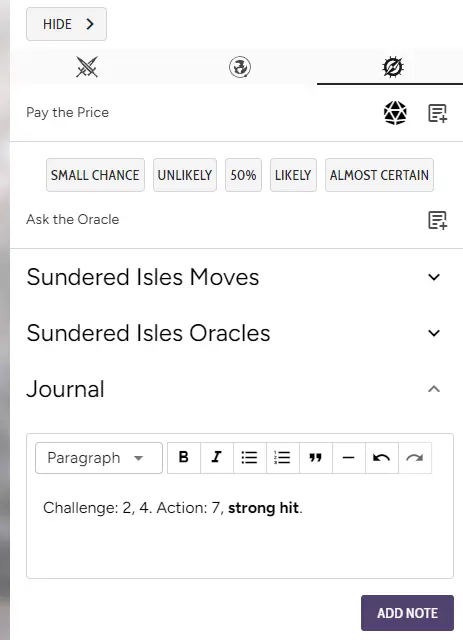
The sidebar on the right side of the screen has a collection of oracles and moves from Ironsworn, Starforged and Sundered Isles. Pay the Price and Ask the Oracle are always visible on top for ease of use. Each oracle roll can be added to the journal text editor by clicking the "add to journal" icon. Journal with the last entry will show up on the bottom of the sidebar once the navigation tab is switched to any tab other than Journal. This way, it's possible to write in the log while another tab is active without the need to switch between tabs.
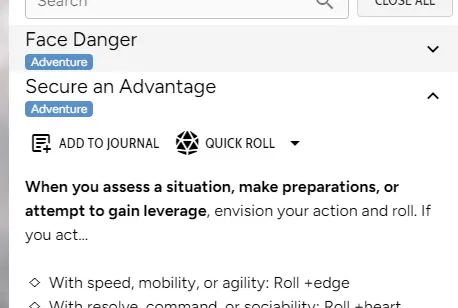
Some moves have the option to use "Quick roll". Instead of going back to Action Roller, you can push the button, select the stat with which you want to roll, and it will trigger Action Roller to roll dice with the selected value.
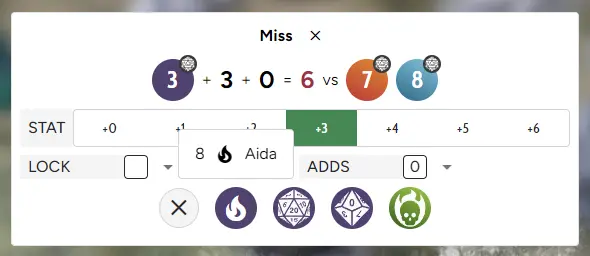
Dice roller
On the bottom side, you can find a die icon, which will activate the dice roller. On the dice roller, you can set Stat with which you want to roll, lock your action die and set adds. Once an action roll is made, you can reroll any die or burn momentum if you currently have a hero with enough momentum score or negative momentum that can cancel the action die.
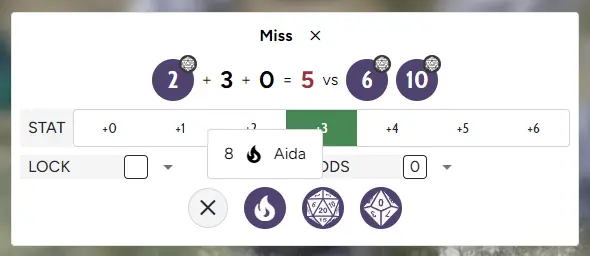
Sundered Isles campagin adds a Cursed die and changes challenge dice colors to represent Sundered Isles moons.
Character creation and Hero tab
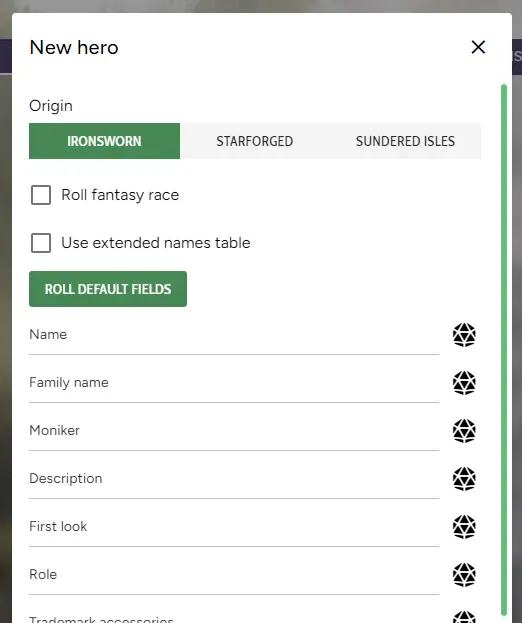
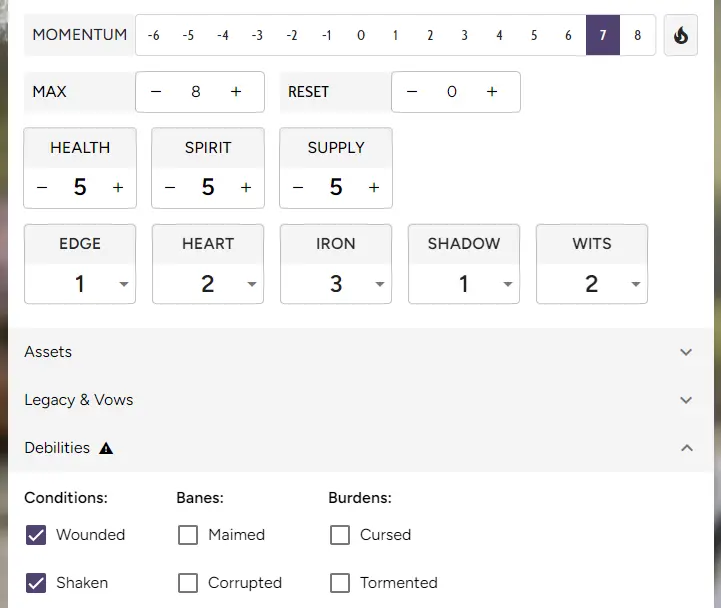
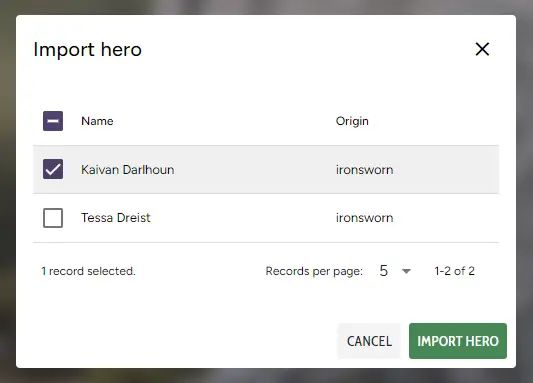
To create a new hero, in the hero tab, click "Add hero" or "Import hero" if you have previously exported characters that you want to play. Set your preferred "origin" if you want to generate something other than the default origin set during campaign creation, and fill or roll as many fields as you want or click "Roll default fields" to generate content randomly for key fields. Once a hero is created, you can edit it, convert it to a NPC, and export it. Set your character's Edge, Heart, Iron, Wits and Shadow stats; pick your Assets in the Asset tab below the character info, and you're ready to go. "Roll fantasy race" option will enable the option to pick a race other than the default human and use the extended names table. Alternatively, "Use extended names table" will only use the extended names table without changing the character's race from human.
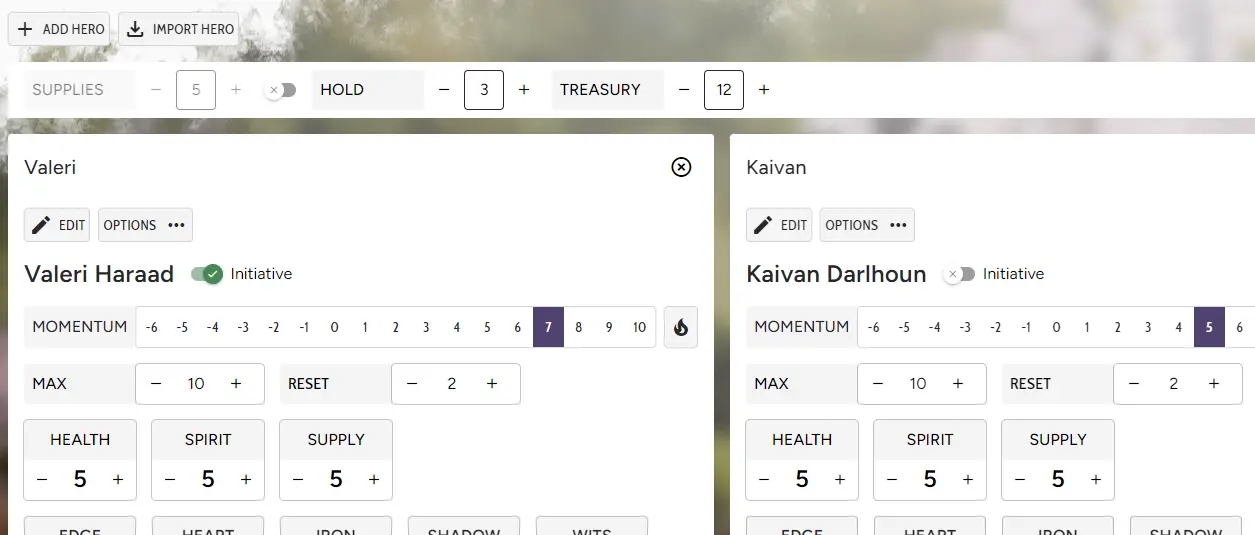
When playing more than one character, the layout will switch and a bar with additional options will appear above the list of heroes with shared supplies, hold and treasury/ledger. Supply can be switched from shared to individual at any time.
Assets
The Add Asset dialog is equipped with a selection tab, filters and a search bar. The search bar will search only for filtered assets in a selected tab. For example, if you're on the Starforged tab with only Companions assets active, you won't be able to search for Path assets. The last tab, Random, allows you to randomly draw assets. It has its own filters; by default, it will draw from all decks.
Debilities and Impacts
When checking any debility or impact, maximum available momentum and momentum reset will be adjusted automatically. A warning icon will appear on the tab once it has any condition checked, so it's harder to forget about active conditions.
Tracks
The track tab is used for all sorts of tracks, while personal vows are best stored on the hero panel in the Legacy & Vows section, this is a perfect place for journeys, explorations, scene challenges and combat.
NPCs
Similar to Hero creation, you can add new NPCs with the "Add NPC" button and fill in as much info as you want. The only really important part is origin, which dictates oracles used during NPC generation. Everything else can be edited anytime. Just like with heroes, it is possible to generate most of the character info by clicking "Roll default fields". If you want to keep adding new NPCs without closing the dialog, check the "Add next NPC" box at the bottom.
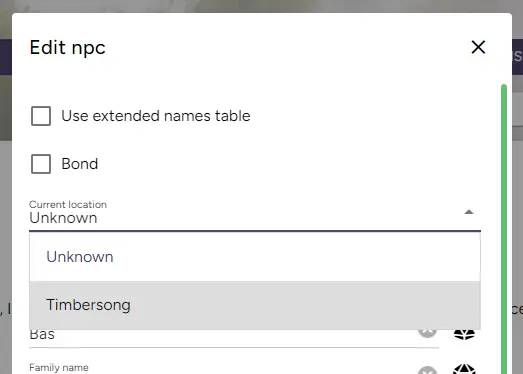
NPCs can be converted to Heroes and exported. If you want a NPC to have a personal quest available, there's a special Quests tab below the NPC description. Each NPC can be assigned to any created location. To assign an NPC to a location, open the "Edit" dialog and pick "Current location" from the drop-down menu.
Delves, Derelicts, Vaults, Shipwrecks, Caves and Ruins
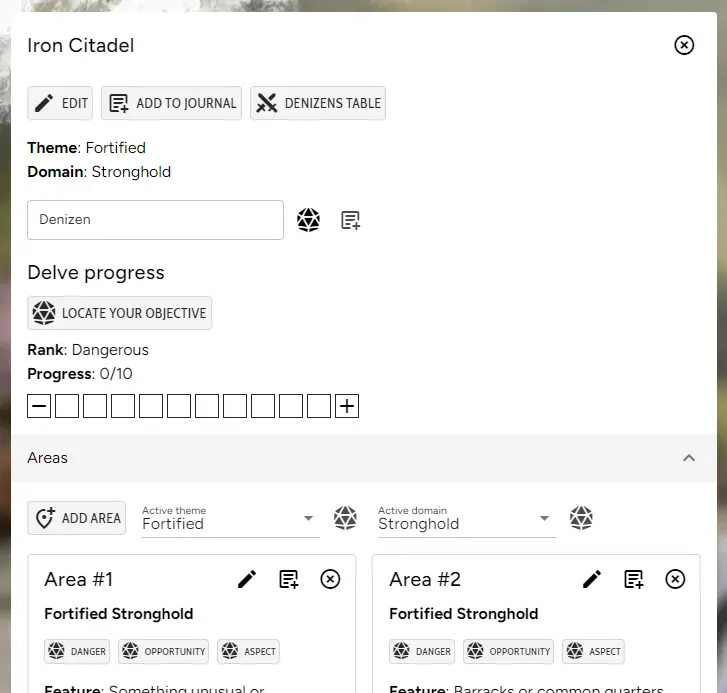
Delves, Derelicts, Vaults, Shipwrecks, Caves and Ruins tabs help to visualize instances and keep everything in one place. Upon adding a new instance, you don't have to fill in anything at all, the minimum required info will be generated automatically.
Once an instance is created, it will have its own progress track that you can resolve and reactivate at any time and Areas/Zones tab that generates waypoints based on chosen themes and domains. Vaults have separate Zones for Interior and Sanctum. Each waypoint can be edited with a custom name, and on each you can roll its Ironsworn/Starforged features like dangers and opportunities. If you don't like what was rolled, it's possible to reroll everything or just input custom text.
Locations
In the locations tab, it's possible to create Settlements, Waypoints, Planets, Starships, Islands and Ships. The type of location is not generated randomly and has to be selected manually.
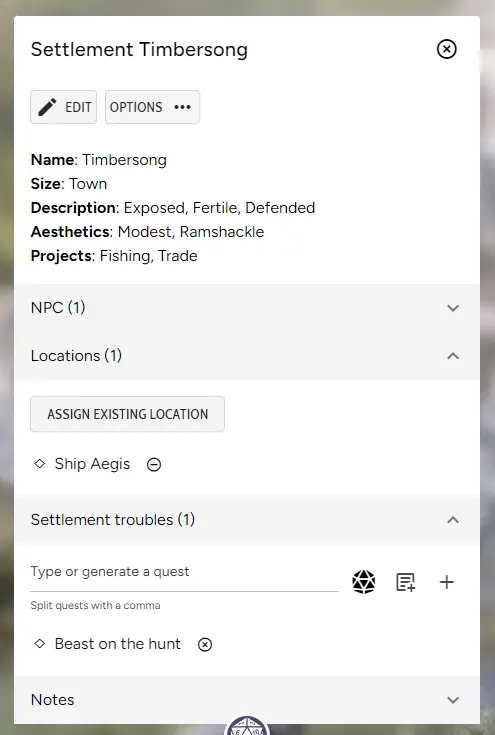
Once created, you can export the location for use in another campaign, add NPCs or create new NPCs that are located in a selected location, and add settlement troubles, quests or missions. By assigning an existing NPC to a new location, the NPC will be moved from its previous location, if there was any, and the NPC panel will be updated automatically. Some locations, like Ships or Starships, can be assigned to other locations.
Factions
Factions work similarly to locations. Once a faction is created, it can be exported, and it is possible to assign existing characters, including heroes, or add new NPCs that will be automatically assigned to a selected faction. By changing the NPC faction, it will be removed from the previous one automatically. Factions don't have quests or troubles; instead, it's better to assign those to locations in which factions are active or to faction members.
Custom assets, themes and domains
Inactive by default, you can add custom assets, themes and domains. Once created, custom assets will appear in the hero asset picker dialog and custom themes/domains will be available when creating new locations and instances.
Export and Import
You can export and import all your campaigns by clicking "Export campaigns" and "Import campaigns" in the app settings menu. This allows you to easily switch devices and keep your campaigns info or save it as a backup. Keep in mind that when importing campaigns, new info will overwrite the old one.
Heroes, NPCs, locations, factions, custom assets and custom themes/domains can be exported from one campaign and imported into another. This way, if you want to use previously generated content, you can do it without manually copy-pasting everything. Exported content can be downloaded with the "Export saved data" button in the app settings menu.
Generate HTML
By clicking "Downlod Journal" in the app settings menu, an HTML file filled with all your journal logs will be generated and downloaded. This can serve as your campaign summary once you are done with it and don't want to keep it on the list of active campaings.
Links
If you want to try using Pocketforge yourself, you can find it here.
If you want to read actual play in which I used Pocketforge, you can check Ironsworn: Beast of Cindermeet, Ironsworn and D&D: A Most Potent Brew or browse all actual plays.
Thanks for reading!